Planting a tree? Don’t grab the shovel just yet. Skipping the right mistakes means you could end up with a struggling tree or one that doesn’t survive at all. Here’s what you need to know to get it right from day one and set your tree up for long-term success.
Key Takeaways:
- Select the right location for your tree, considering its mature size and avoiding spaces where it might eventually interfere with power lines or become confined.
- Dig a hole two to three times the width of your tree’s root ball but only as deep as the root ball, ensuring the trunk flare remains visible after planting.
- When backfilling, add soil in layers and water thoroughly to eliminate air pockets.
- Only stake your newly planted tree if it’s necessary (based on crown size, tree shape, planting location, and root ball type), and remove stakes as soon as the tree can stand on its own.
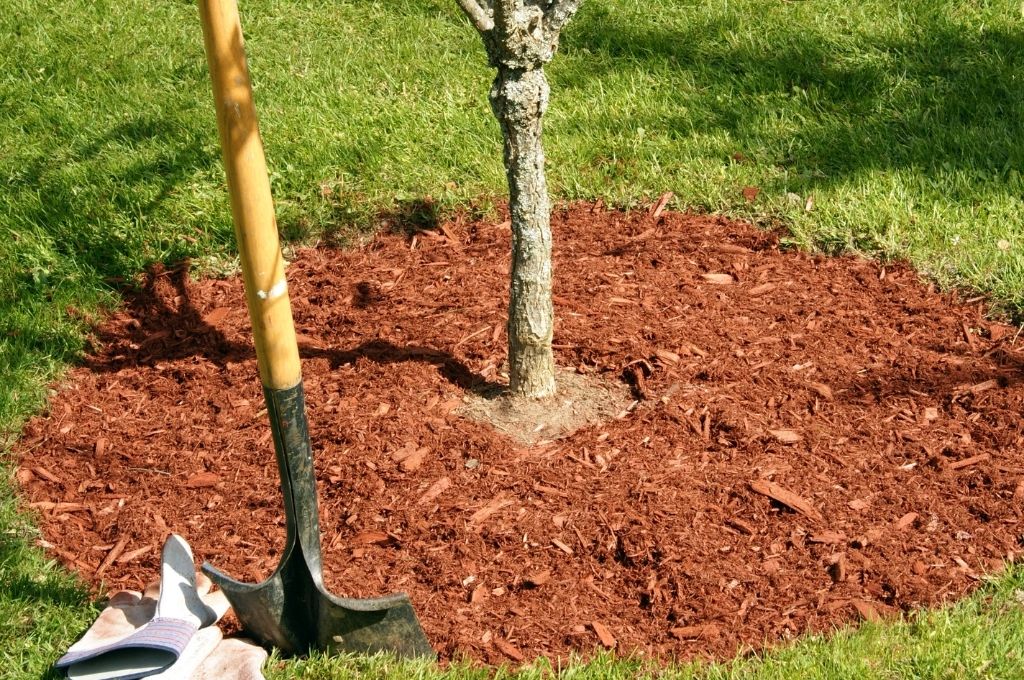
- Continue caring for your new tree by applying a 3-4 inch layer of mulch around it (but not touching the trunk), watering regularly, performing light structural pruning, and monitoring for signs of stress.
Step 1: Pick the Right Spot
That little sapling may not look like much now, but it’s going to grow – and fast. Plant it too close to power lines or in a confined space, and you could be dealing with expensive removal or extensive pruning in a few years.
Take time to research how tall and wide the tree will get at maturity. Make sure there’s enough space for it to grow without hitting structures, wires, or crowding other plants.
Also, steer clear of low-lying areas where water collects. Poor drainage can drown young roots, wash away mulch, and leave your new tree struggling to survive.
Step 2: Choose an Appropriate Tree
Some trees do better than others in our climate. Ensure you pick a tree that thrives in the MetroWest Area of Massachusetts. Some of our recommendations include:
- Alder
- Elm
- Catalpa
- Crabapple
- Eastern redbud
- Maple
- Hackberry
- Sycamore
Step 3: Dig the Hole
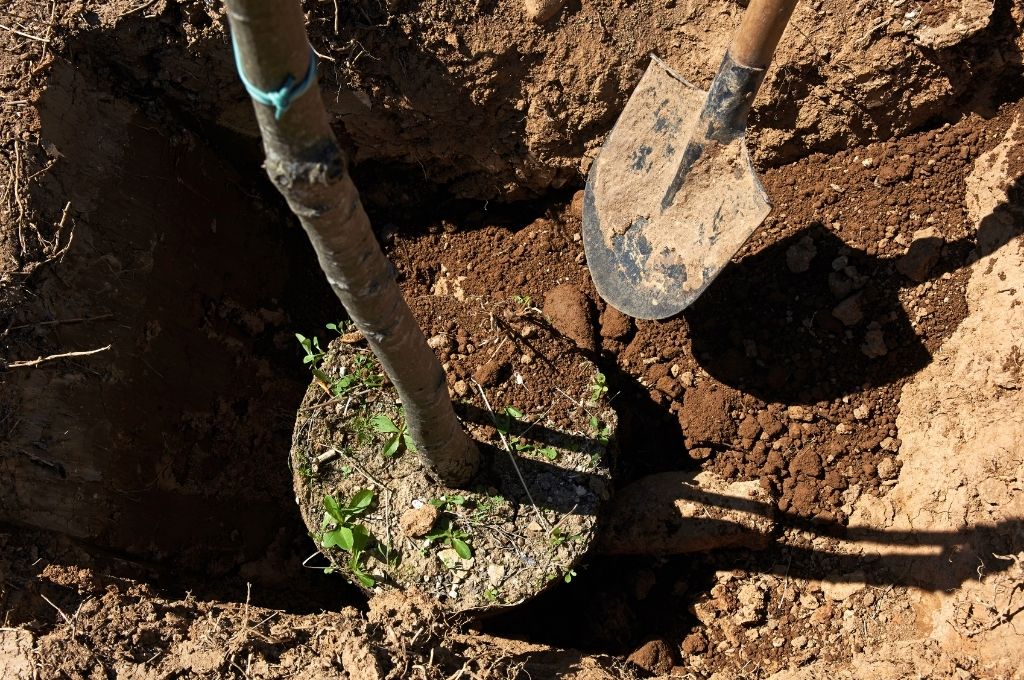
The hole you dig for your new tree is its literal foundation for life. There are two critical considerations when you dig your planting hole: width and depth.
Planting Hole Width
Dig a hole that’s two to three times the width of your tree’s root ball. Ensure the soil around your new tree’s root ball is:
- Loosened and Well-Draining: Bare, open soil can compact easily, making it hard for water to drain and for tree roots to penetrate. This is especially true if you have clay soil.
- Free of Rocks and Debris: Remove everything that can block tree roots as they grow.
- Easy to Amend: Use your shovel to mix amendments evenly into the soil so it’s ready for you to backfill (but ONLY if needed).
Planting Hole Depth
The depth of your planting hole should be about the height of your new tree’s rootball; planting too deep will cause problems for the tree, such as girdling roots. Additionally, the base for your new tree’s rootball should be solid and stable so the tree won’t sink over time.
Plant your tree so its trunk flare (the part where the trunk meets the roots) is slightly higher than the soil around it. Ensure the trunk flare is visible after planting. You may need to remove some soil from the root ball to expose the trunk flare.
Step 4: Backfill the Planting Hole
After positioning your new tree in its planting hole, backfill it with the soil you dug out. You may want to have one person keep the tree in place and another person shovel the soil.
Before doing any backfilling, ensure the tree is as vertical as possible. Have someone examine the tree from multiple angles to get it straight. Planting a tree with a lean could cause it to become dangerous and necessitate removal.
Consider Adding Amendments – But Only If They Help
You may have heard that you should add amendments to your backfilled soil. However, this isn’t usually necessary, although the answer is more complicated than a simple yes or no.
If you regularly add compost and mulch to your garden soil, chances are good you’ve improved its structure and fertility to the point that it can support a new tree’s needs. In this case, you probably won’t need to add anything.
The only way to know if your soil lacks nutrients and needs amendments is to have it tested. Over-fertilizing your soil is harmful and could cause health issues for your sapling. While you can buy soil test kits at any hardware store, they are not reliable or accurate.
In Massachusetts, you can get free professional soil testing at a lab. Follow the directions for submitting a soil sample and wait for the results. These tests provide scientific analysis and accurate instructions for how much to amend your soil.
Avoid Creating Air Pockets When Planting
When you backfill a planting hole, make sure the soil settles evenly around your new tree’s rootball. If you backfill unevenly, you might be creating air pockets.
Tree roots won’t grow into air pockets. Worse yet, water will collect in them rather than draining. To prevent this from happening:
- Backfill Soil in Layers: After you add a layer of soil, water well so the soil settles evenly and air escapes. Repeat until you’ve backfilled all the soil.
- Tamp the Soil Gently: After backfilling, gently tamp down the soil surface with your foot. Don’t stomp on the soil, or you’ll compact it so that neither water nor air can penetrate it.
- Thoroughly Water Your New Tree: Continue to water your tree, ensuring all the soil is hydrated.
Step 5: Determine If You Need to Stake a Tree
Not all trees will need staking, but some will benefit from some support for 6 to 12 months after planting. Whether or not to stake a new tree depends on several factors.
“If you decide that staking your tree is for the best, be very proactive in checking the tree. You’ll want to remove any stakes as soon as possible, as keeping them on too long will actually harm your tree. As soon as a tree can stand upright on its own, go ahead and ditch the stakes.” – Rich Yurewicz, American Climbers Owner
Crown Size
If your tree has a heavy or dense crown and a small rootball, it’s more likely to blow over in strong winds until its root system establishes. In this case, tree stakes are a good idea.
Tree Shape
Young trees get tall and skinny when grown closely packed in nursery containers and tied to nursery stakes. When you remove nursery stakes, the tree may flop over. Staking will keep a skinny tree upright until its trunk grows larger and stronger.
In contrast, small, stocky, or spreading trees are less likely to blow over and generally won’t need staking.
Planting Location
If you’ve planted a small tree in a sheltered location, you probably won’t need stakes. Windy spots, however, may require it.
Type of Rootball
Balled and burlapped trees have larger root systems than trees grown in nursery containers. They often don’t need staking because their root ball holds them steady.
Step 6: Stake the Tree (if Necessary)
If you do stake your trees, do it right. Typical staking uses:
- Two or three large, sturdy stakes driven into the soil outside the tree’s rootball (not into the rootball itself)
- Soft, flexible ties fastened securely to the stakes (they can even be nailed or screwed into the stakes) and loosely tied around the tree’s trunk
Alternatively, some homeowners opt for a slightly different method. They use three anchors driven into the soil around a tree and nylon webbing tied to the stakes and attached to flexible ties around the tree’s trunk.
Some tips to ensure you stake your tree properly include:
- Position the stakes so they don’t touch branches, as they’ll rub off the bark.
- Attach the flexible ties at the lowest possible height to keep your tree upright. This allows the tree to still move with the wind and develop strength.
- Don’t use rope, twine, metal wire, or cable to tie your tree. These will rub off bark or cut into the tree’s trunk as it moves.
Step 7: Provide Continued Support for Your Sapling
Planting the tree is just the first step in growing a beautiful new centerpiece for your yard. Some of the continued care you should provide for the first few years of a tree’s life include:
Add Mulch Around the Base of the Tree
Once your tree is planted, finish the job by spreading a layer of organic mulch around the base. It’s one of the simplest ways to give your young tree a healthier start.
Mulch helps by:
- Slowing water evaporation from the soil
- Suppressing weeds that compete for water and nutrients
- Regulating soil temperature through seasonal extremes
A rule of thumb is to add a circle of mulch two to three feet in diameter around the tree’s trunk. Not only does this give you the many benefits of mulch, but it also gives you a clear “no-mow” or “no plant” zone over its roots.
Spread a three- to four-inch layer of mulch and regularly replenish it, as organic mulch naturally decomposes over time, adding nutrients back to the soil.
Water Your New Tree
After you plant your new tree, it will need regular watering. A tree’s rootball at planting is small, yet it’s the only resource for a tree to take up water.
For the first few weeks, you should water your tree every day. Let the water soak down into the soil to moisten the rootball.
After that, water weekly throughout the first growing season.
PRO TIP: Always water “low and slow” so that water soaks down into the soil and encourages deep roots.
Once the weather cools in fall and the rains are regular, you can generally stop watering until spring. However, if we get a warm spell in winter and the ground is clear of snow, your new tree will benefit from winter watering.
Perform Light Pruning to Give a Tree Better Structure
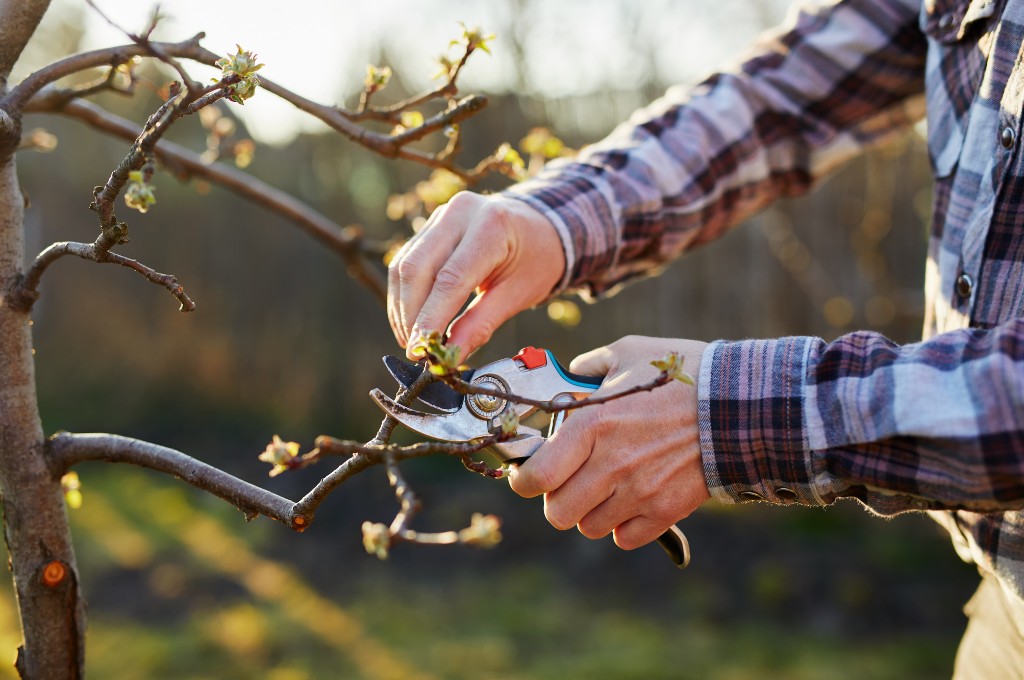
Pruning a tree while young will train it to grow in a particular shape and prevent it from developing poor structure. Avoid pruning your tree immediately after planting, except to remove any broken or dead branches.
Any pruning on a newly planted tree should be minor, never removing more than ¼ of the branches at a time.
WARNING: Pruning young trees takes a careful hand – common mistakes can seriously damage or even kill your tree.
Monitor for Stress
The natural environment can stress trees, and young ones are particularly vulnerable. Some natural stressors for trees in Massachusetts include:
- Heat stress
- Drought stress
- Insects and diseases
- Lack of nutrients
If you notice a tree’s leaves drooping or lacking color, have a professional examine them and make recommendations.
Give Your Trees the Best Start with American Climbers
Caring for a newly planted tree takes time, attention, and the right techniques – which can feel overwhelming. When you want to be sure your tree gets the proper pruning from the start, trust the experts at American Climbers.
We are experts in trimming trees and always make precise and clean cuts. We’ll help guide your tree into maturity so that it not only looks good but has healthy growth. Call us today at 508-497-8628 or request a quote online.
Blog Topics
Recent Posts
What's Happening? Stay Informed!
Stay on top of local events, pest and disease updates, tree and landscape tips, and more. Delivered straight to your inbox each month.

